Clogged dryer vents are one of the leading causes of residential fires according to the Federal Emergency Management Agency (FEMA) and the National Fire Protection Association (NFPA). The reason for all those fires? The simple failure to clean the dryer. Lint, fiber and dust can ignite in a matter of seconds. If your dryer vent is full of these particles, electrical problems or excessive heat from the dryer can cause them to catch fire. FEMA recommends cleaning dryer vents and performing regular maintenance and inspection every three months.
Maintaining the vent duct that leads from the back of your dryer to the exterior of your home is critical to keeping it safe. Plus, clean vents will make the dryer run efficiently, thus saving money on your utility bill. We highly recommend getting a dryer vent cleaning kit. It costs about $20 and will make this task much quicker and easier, especially if your dryer vent is more than a couple of feet long.
1. Unplug Dryer and Move It Away From the Wall
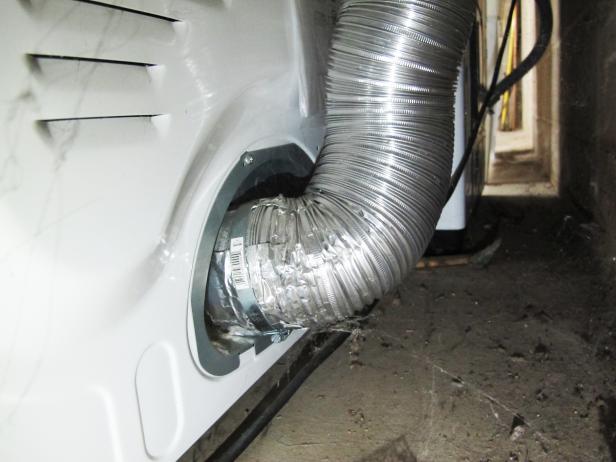
Unplug your dryer and roll it away from the wall then familiarize yourself with what you see:
- Vent ducts are ordinarily four inches wide, by code. Vent ducts should be free of kinks and not separated at connecting joints.
- Most metal vent ducts is rigid and straight; it also is manufactured at 45- or 90-degree angles to accommodate turns, but cannot be bent or flexed by hand.
- Some vent ducts are flexible or semi-rigid metal that look like a vacuum cleaner hose. Semi-rigid construction allows them to be easily angled to bend and flex in small spaces. The folds in semi-rigid vent ducts are more apt to gather dust and debris.
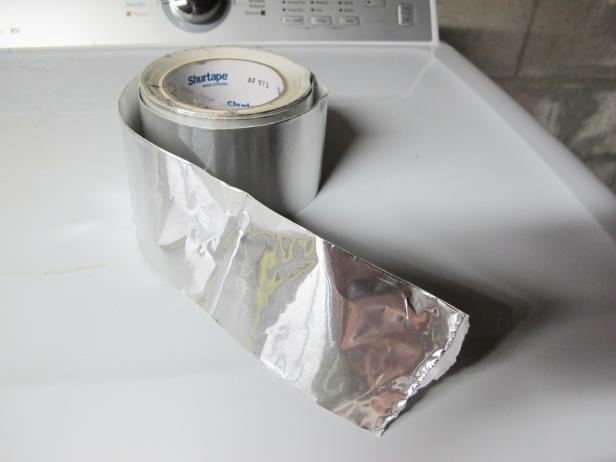
- You’ll also see duct tape, aluminum tape and/or couplings holding the piece duct together, as well as to the appliance and the outdoor vent. Metal duct tape is durable (don’t confuse it with “Duck” tape) and simultaneously works to create strong connections and increase the efficiency of the piping by minimizing any leaks in the ducting.
2. Loosen the Duct Connections
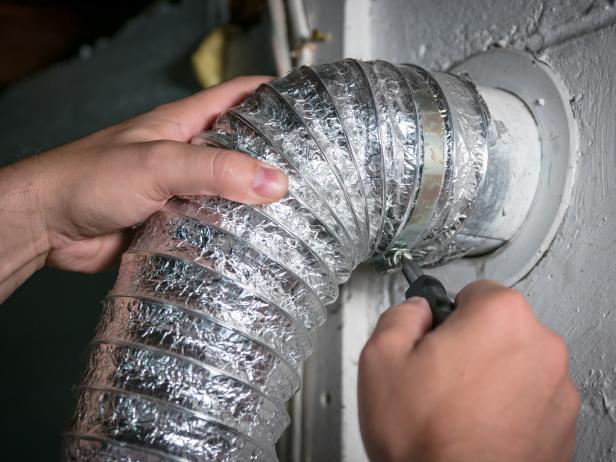
While the dryer is unplugged, get down to ground level and inspect the connection between the appliance, and the vent ducts. Loosen any couplings (a screwdriver might be necessary) and peel back any tape. If the connection is loose or worn away, plan on repairing it when you are finished cleaning the ducts.
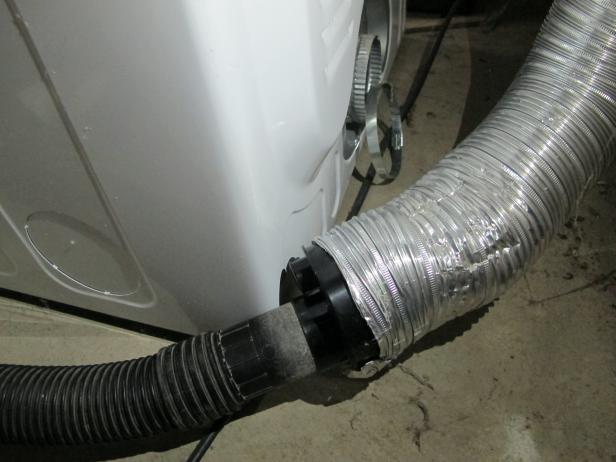
When you disconnect the piping from the back of the dryer, use a vacuum with a crevice attachment to clean any visible dust and lint at the base of the appliance and around the edges of the ductwork.
3. Attach Rotary Brush to Vacuum
Most rotary brush mechanisms designed for cleaning dryer vents will come with a coupling that allows the four-inch ducting to attach to the smaller shop vacuum nozzle. Make this connection — but keep the vacuum turned off for the time being.
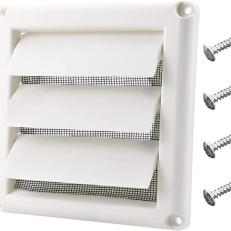
Go outside and locate where the dryer exhaust exits the house. There should be a movable or protected cover on the outside of the home that should not be blocked by vegetation or stored items. If the cover is damaged, it should be replaced. It’s important to maintain this vent to be sure bugs and small animals like mice aren’t nesting inside the opening. Also, any blockage will prevent the release of fumes including carbon monoxide, and increase the risk of fire (not to mention that it wouldn’t be great to have animals crawling down the vent and into your dryer).
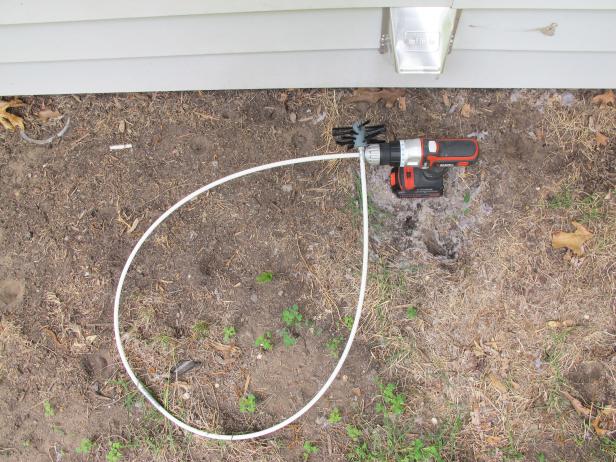
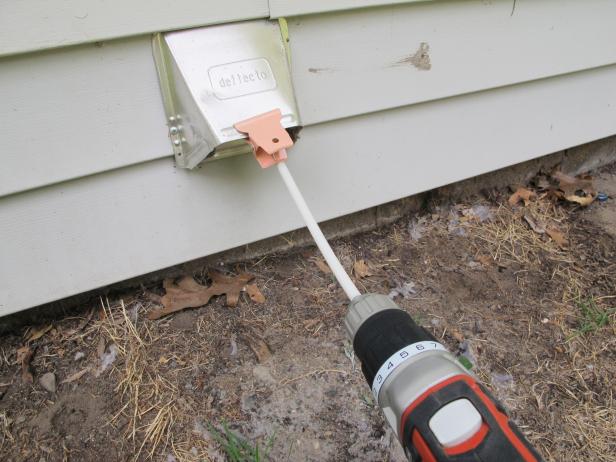
Attach a four-inch bristle brush to the flexible plastic rod that came with your kit, and then connect it to a cordless drill. The end of the rod should be formed to mimic the shape of a drill bit so that it can securely attach to your tool.
5. Attach Rotary Brush to Drill
Reach inside the vent and feel for a flapper valve; it will lift up. Use a binder clip to hold the flapper out of the way so that it doesn’t get damaged when you’re operating the tool. When you lower the brush into the vent exhaust and pull the trigger to activate the drill, the brush will spin inside the vent to agitate dust and dirt. But, before you start the drill, have someone inside turn on the vacuum. The vacuum will collect the debris in the duct as the brush on the drill rotates. Plunge the brush down, and then pull it back up to the exterior of the home.
6. Reattach Duct Connections
When you reconnect the vent pipe back to the dryer, check the length of the piping (both rigid and semi-rigid areas) to make sure it is intact with no holes or cuts. If it’s all good, tighten the coupling and supplement the connection with metal duct tape as a reinforcement.
