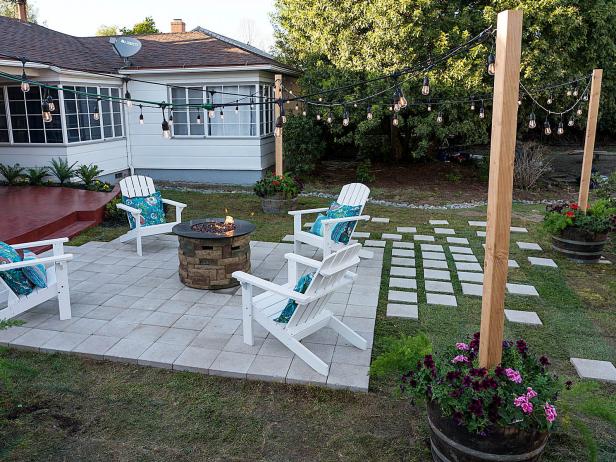
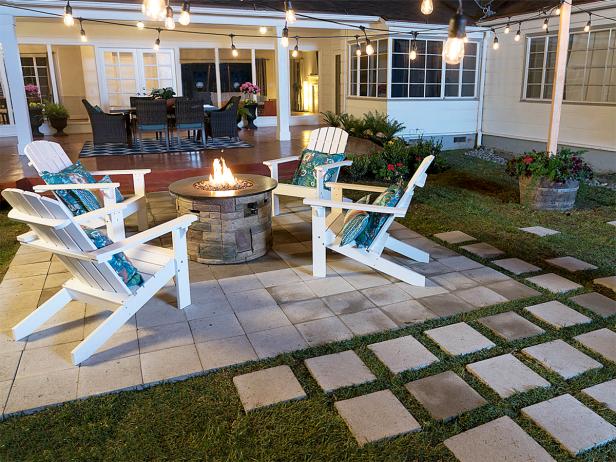
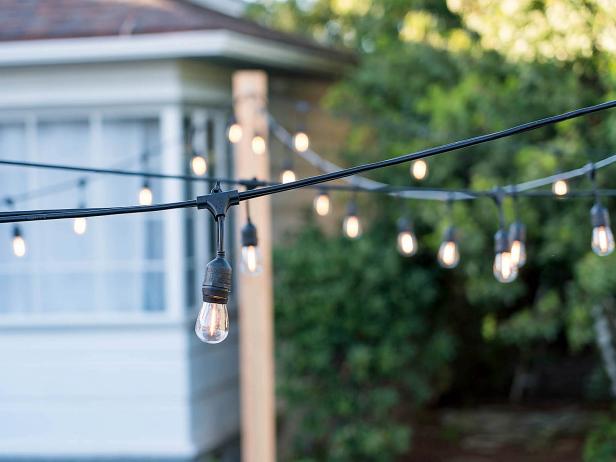
Illuminate your outdoor living space with these easy-to-make planter posts for string lghts. You can make them in one day — including drying time for the concrete — and each planter cost less than $100 to make.
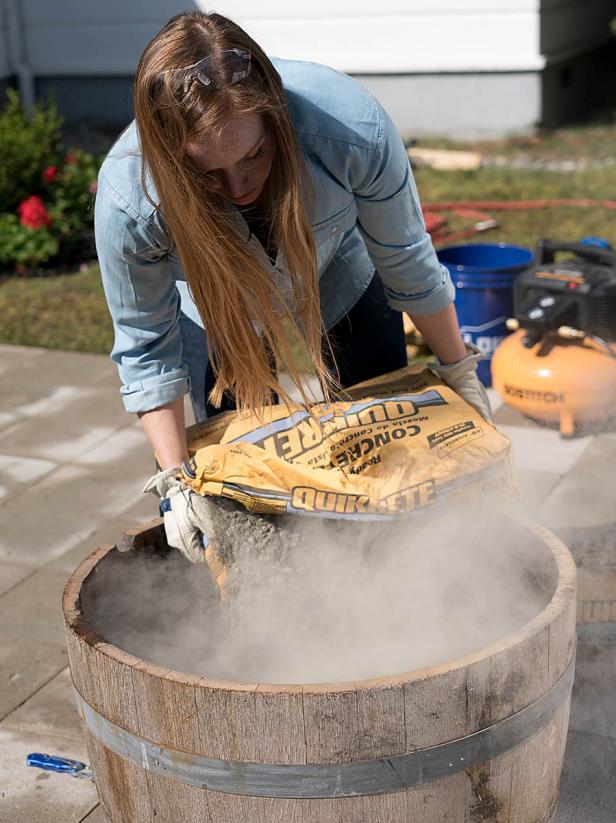
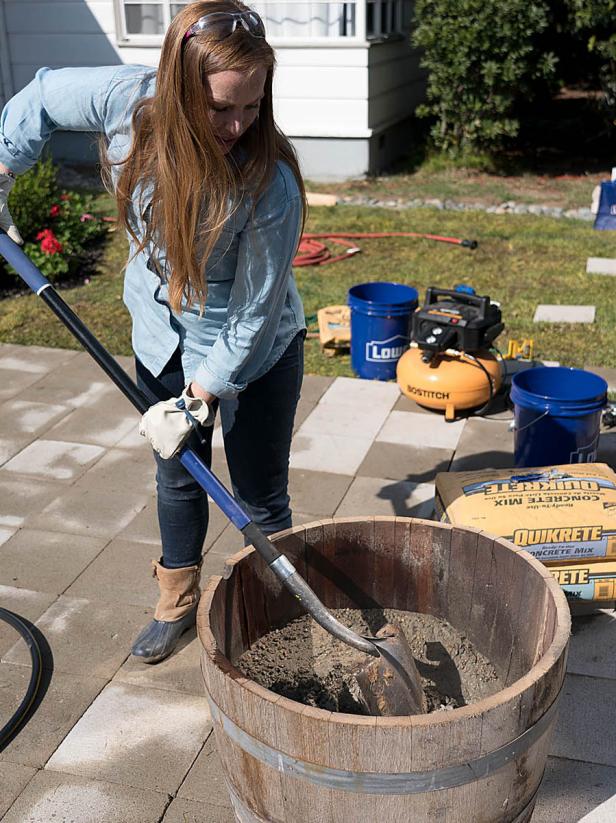
1. Mix Concrete in Barrel
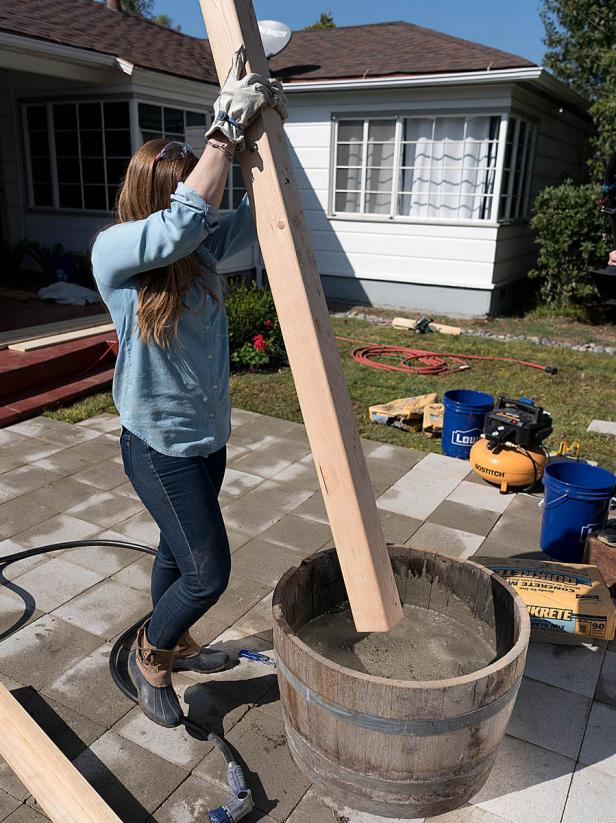
The concrete should fill about 1/2 to 3/4 of the barrel to provide enough stability for the posts. Set the barrel in place; you don’t want to have to move it after you add the concrete. Mix the concrete in the barrel. We filled our barrel with about 8 – 10 inches of concrete leaving about 10 inches for the plants.
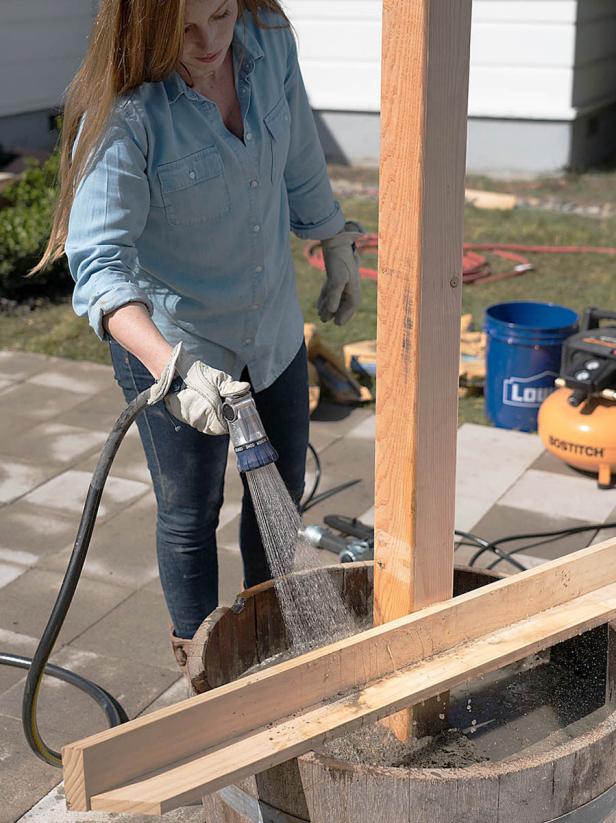
Mix the concrete with water and shake the planter to ensure air bubbles in the mix rise to the top. If you are using several bags of concrete, it is easier to mix one at a time.
2. Insert and Support Post
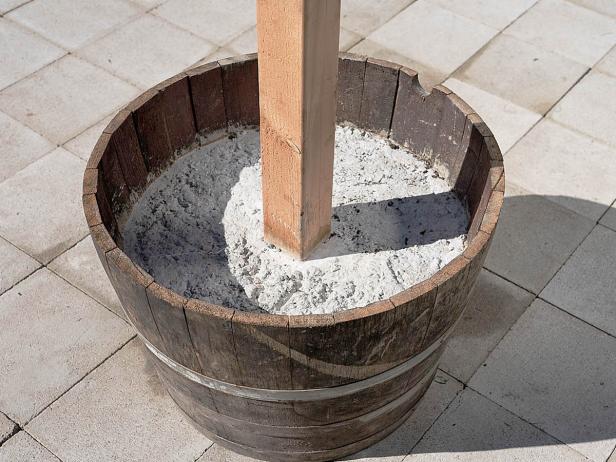
Set the 4×4 post in the center of the barrel and check the level to make sure the post is not leaning. Screw scrap wood to the post to hold it upright while the concrete is setting. Add another bag of concrete if necessary.
3. Add Drainage Holes to Planter
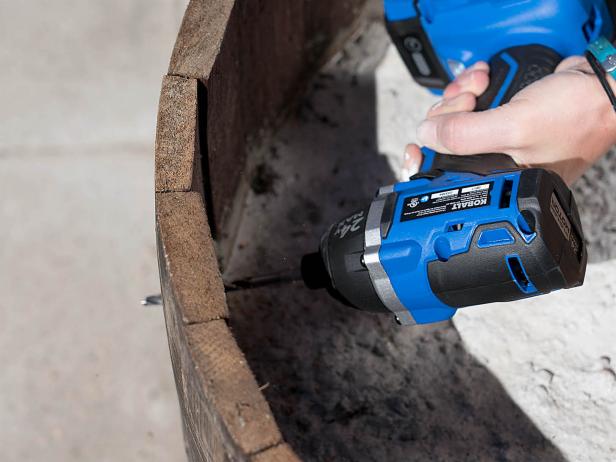
After the concrete has set, use a drill to make drainage holes in the barrel just above the line of concrete.
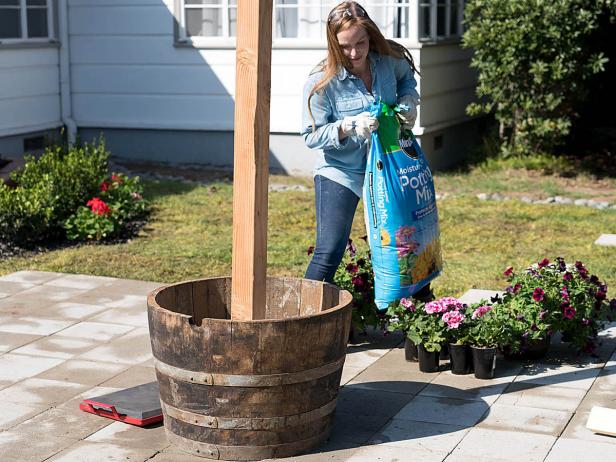
4. Fill With Gravel, Soil + Plants
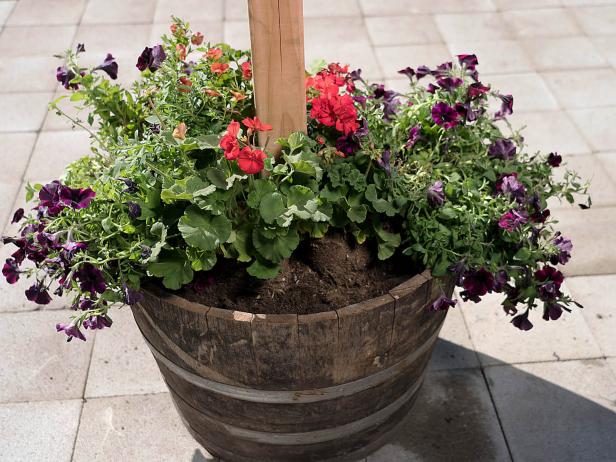
After the concrete has cured, add a layer of pebbles to help with drainage. Then fill the barrel with potting mix and selected plants.
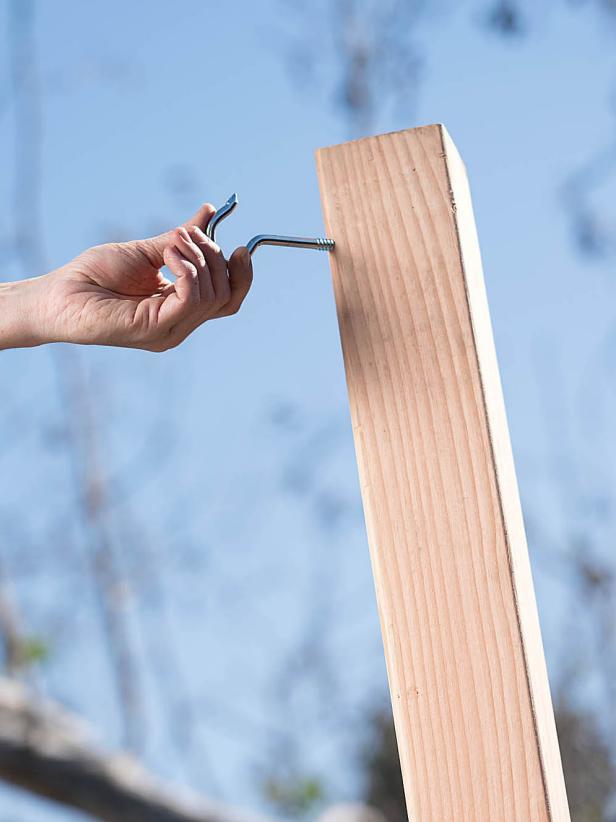
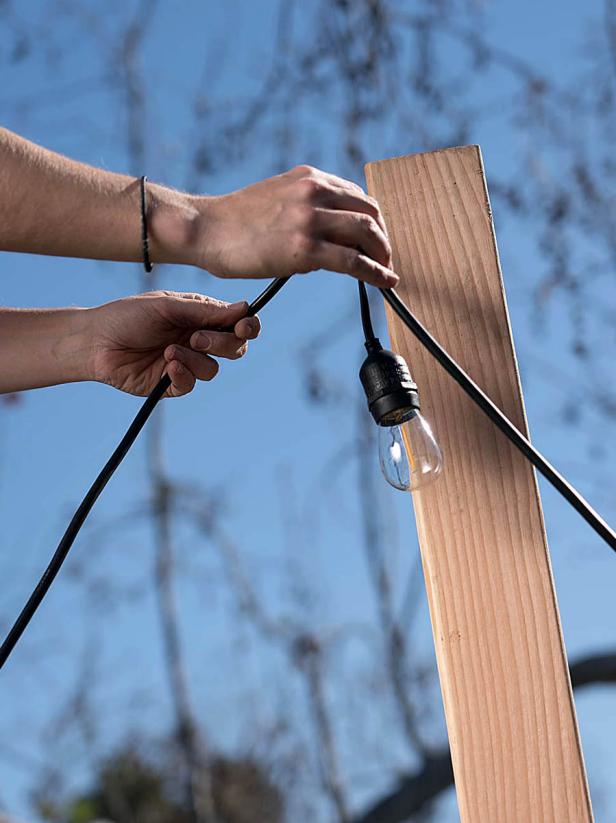
At the top of the 4×4 post, pre-drill a hole for the C-hook that will hold the string lights. Insert the C-hook. Hang string lights from the C-hook using a zip tie. Hang the lights around the perimeter of the space, crisscrossing the area if desired.
Turn on the lights and enjoy the night.
